First, let me begin by deeply apologizing for my unintended hiatus. I haven't had the opportunity to update the blog in a while, as I've been caught in the "back to school" rush of a new semester. So I decided to make it up to you with a huge blog post with three calorie-laden recipes: Fried Catfish, Crispy Homemade Fries, and Blackberry Cobbler.
Fried catfish is a particularly favorite dish of mine. Growing up, it was a treat that we feasted upon only on special occasions. Admittedly, I prefer ordering fried fish of any kind at restaurants as opposed to making it at home, mainly because I hate the resulting mess from frying, but I think my homemade fish is pretty good, if I do say so myself.
And what pairs better with fried catfish than french fries? And yet, it's another dish that is more desirable when purchased as opposed to being prepared at home, as the homemade variety tends to be soggy and floppy. However, I recently discovered the secret to homemade fries that are ACTUALLY crispy! It's a bit of a tedious process with the soaking and double-frying, but it truly does work.
Fried Catfish
Whole catfish*
Cornmeal mix*
Salt & Pepper
Canola Oil
*I ALWAYS prefer whole fish to filets. I find the overall flavor and texture to be much better when the fish is still on the bone.
*You can use plain old straight-up cornmeal if you prefer, but I prefer the texture resulting from using the cornmeal "mix."
Season the fish generously with salt and pepper. Give the fish a generous coating of cornmeal mix. I recommend re-coating the fish two or three times, just to ensure a hearty crust.
Heat the canola oil in a heavy-bottomed frying pan until it reaches a medium-high heat. You can test the oil by dropping in a few cornmeal crumbs -- if the crumbs start to sizzle, the oil will be hot enough. Gently place the fish in the pan. If you are cooking several fish, I don't recommend cooking more than two fish at once, as the overcrowding will affect the temperature of the oil.
Fry the fish for five minutes (ha! alliteration!) and then turn it, and cook for five more minutes. Continue this process until the fish has become a golden brown color. Place the fish on a plate with paper towels to absorb the excess grease. Cool for five minutes, and enjoy!
Crispy Homemade Fries
Russet potatoes
Salt
Canola oil
Peel the potatoes and slice as desired. Place the potato cuts into a large bowl and fill with ice water. Allow them to sit for half an hour, then remove them from the water and place them on paper towels to dry.
Heat the oil in a heavy-bottomed pot until it reaches a medium-high heat. Once the potato cuts are dry, add them to the heated oil a few at a time. Don't overcrowd the pot, as this will affect the temperature of the oil. Once the fries have reached a light golden color, remove them from the oil and place them on a plate with paper towels to absorb the excess grease. Remove the pot from the heat.
Allow the fries to cool for five minutes, and then re-heat the oil, once again to a medium-high heat. Return the fries to the pot and cook them until they turn a light golden brown color. Remove them from the oil and place them on another plate with paper towels. Sprinkle with salt, and enjoy!

(Southern-fried goodness -- served with ketchup, the Alabama way!)
When it comes to cobbler, there are many different varieties. The cobbler with which I grew up has more of a rich, cake-y topping as opposed to a crust (and I believe this concoction is occasionally referred to as a "buckle"). However, when I make cobbler, I tend to go for the more traditional crust -- mainly because I can never remember the flour-sugar ratio for my mom's "crust."
My recipe may seem a bit odd, considering I add jelly to the berries. However, I promise you, the results are AMAZING. I discovered this concoction purely on accident a few years ago. I wanted to make a blackberry cobbler, and I wondered how it would taste if I incorporated some of my homemade raspberry jam. So I added the jam to the berries in lieu of sugar, and I discovered that the jam contained just enough sugar to sweeten the berries, and the flavor for the jam melded beautifully with the berries' tartness. Also, the pectin from the jelly or jam helps to thicken the filling, making for a rich and delicious cobbler.
Tyler's Blackberry Cobbler
1 lb. blackberries, fresh or frozen
1 half-pint jar of jam/jelly/preserves*
*I've found that jam, jelly, and preserves all work well for this recipe, so use whatever is most convenient. Berry-flavored varieties obviously pair well with the blackberries, but you'd be surprised at some unusual-sounding combinations that are quite delicious. Once, in a pinch, I used apricot preserves. Also, for this particular cobbler, I used a jar of homemade vanilla pear jelly, and the results were outstanding!
Crust:
3 cups all-purpose flour
1 1/2 sticks cold butter
1 tsp. salt
1 tbs. sugar
Ice water
You'll want to prepare the crust first. In a food processor, add the flour and the butter. Blend together until the butter has fragmented into tiny pieces throughout the flour. Add the salt and sugar. Gradually add ice water, a few tablespoons at a time, and blend until the mixture becomes a workable dough. Remove the dough from the processor and mold into a disk. Wrap the dough in plastic wrap and refrigerate until thoroughly chilled.
In a medium-sized saucepan, heat the blackberries and jelly on medium-high heat until the mixture reaches a simmer. Remove the dough from the refrigerator.
Here's where I will digress for a moment. I'm one of those weirdos who likes dumplings in my cobbler. So what I do at this point in the cooking process is pinch a few pieces from the dough and add it to the simmering berries.
Preheat the oven to 350 degrees. Roll the dough out until it's around 1/8"-1/4" thick. Cut to fit your oven-safe baking vessel -- you will likely have excess dough. Then, add the berry mixture to the vessel and top with the cut dough. For a pretty brown crust, you will want to pour a bit of melted butter over the top. Bake for around 45 minutes to an hour, or until the crust is golden brown. Allow to cool, and enjoy!
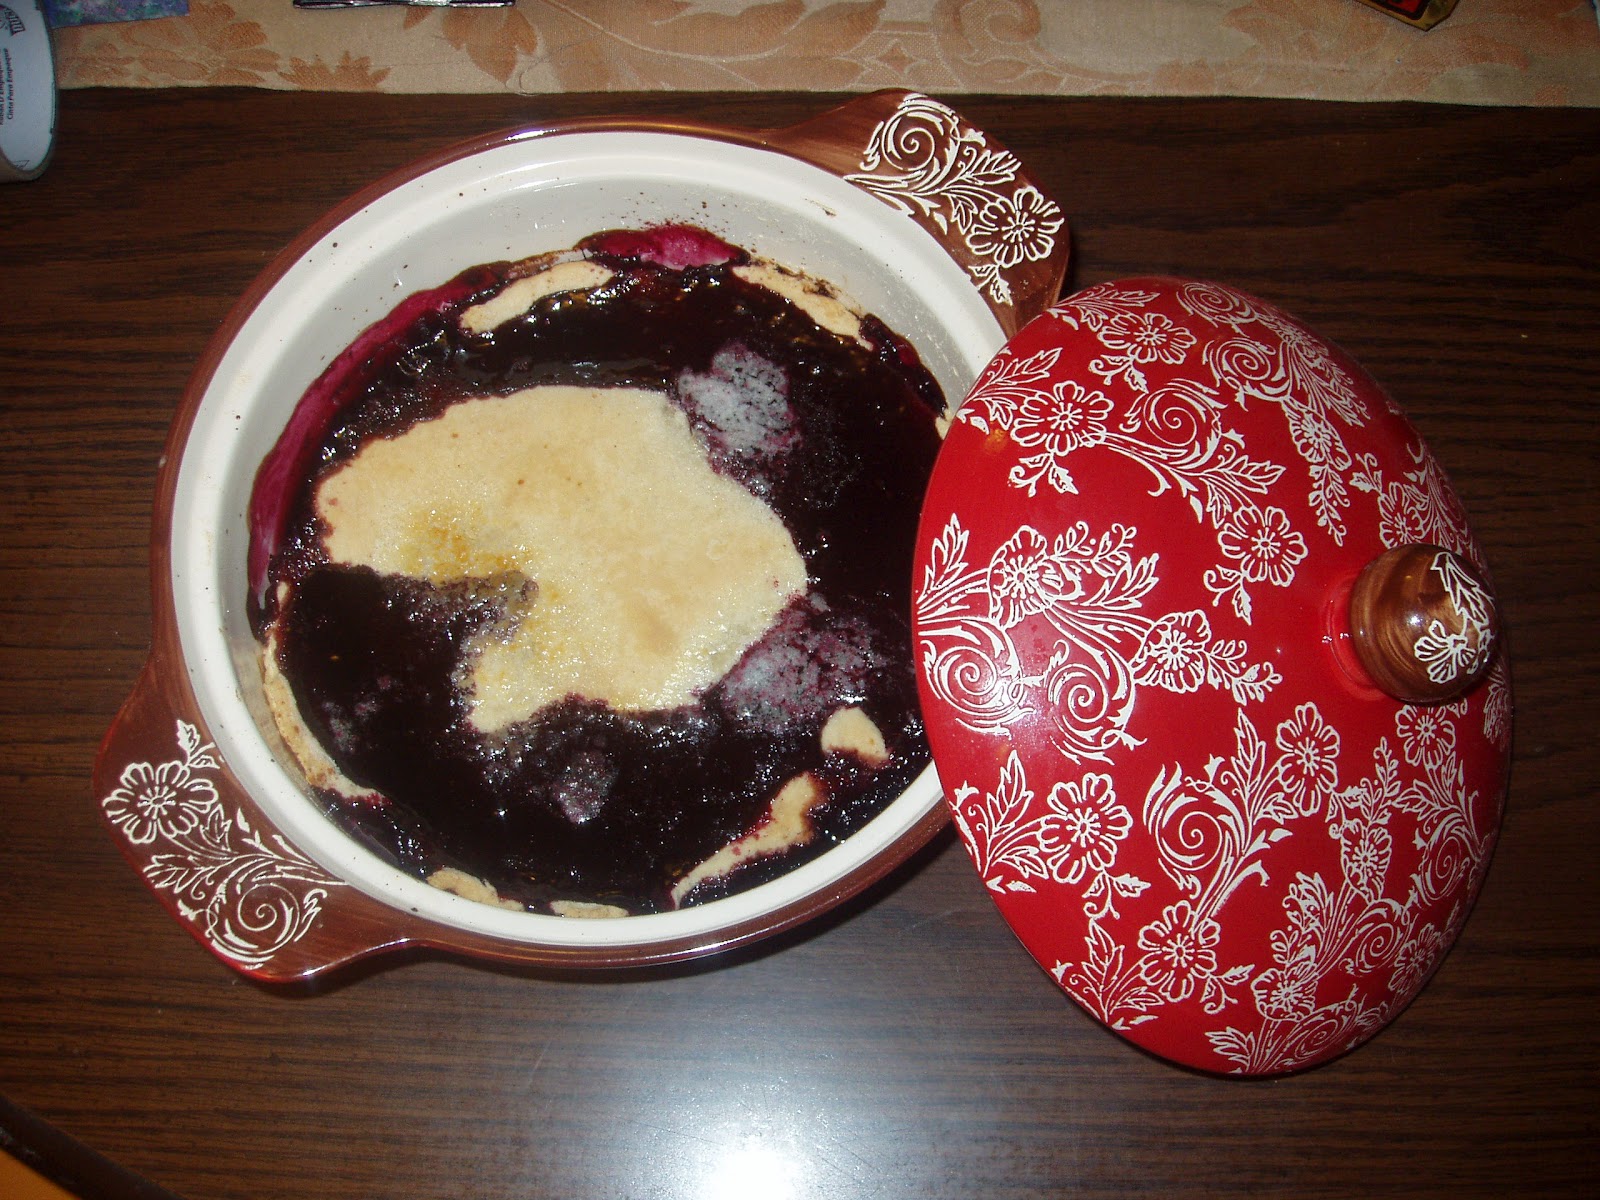
(Ta-dah! Enough to share -- but you won't want to...)
Enjoy, guys!
